
Introduction
Xamarin.Forms Shell reduces the complexity of mobile application development by providing the fundamental features that most mobile applications require.
Customization
This post will offer you a way for customize the TabBar of the Shell on iOS and Android platforms by adding a centered button.
In order to do it, i publish a Nuget Package named ExtendedShellTabBar. This package is available on Nuget.org repository : https://www.nuget.org/packages/ExtendedShellTabBar.
Feel free to use it and don’t hesitate to send me your comments to improve it and adding more functionalities.
My work start from an article published by Andrew Hoefling, the 6/26/2019 on his blog : Xamarin.Forms Shell: Customizing the TabBar (Android) (andrewhoefling.com).
The Design
Start Project
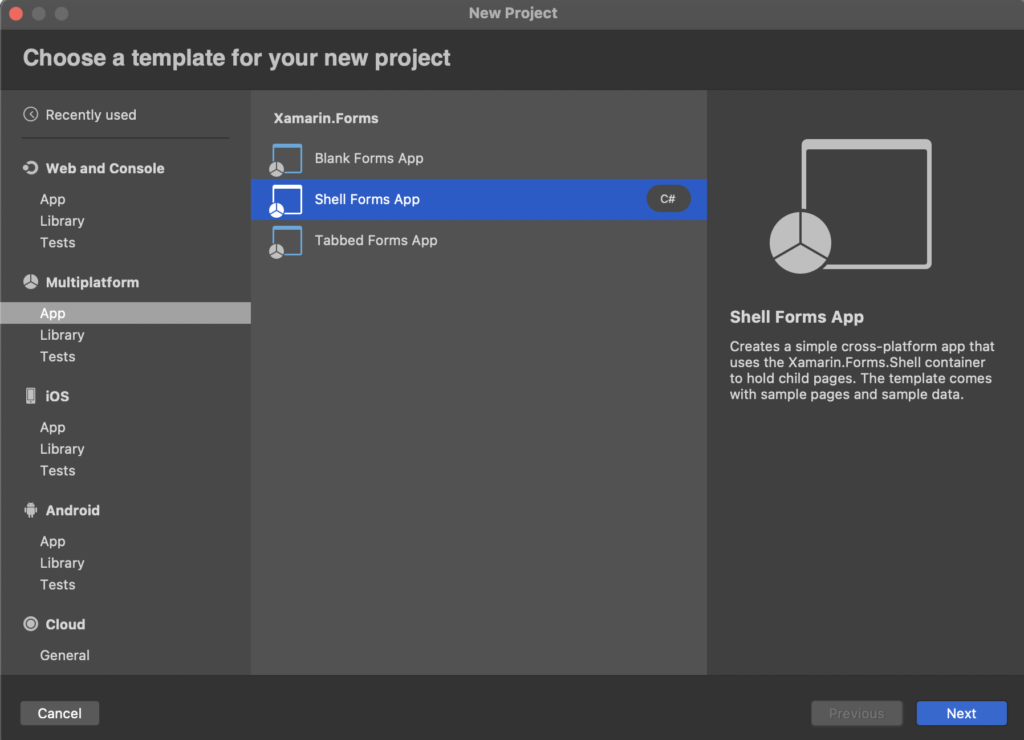
To achieve to do it like above, first of all, open Visual Studio 2019 and create a “Shell Forms App”
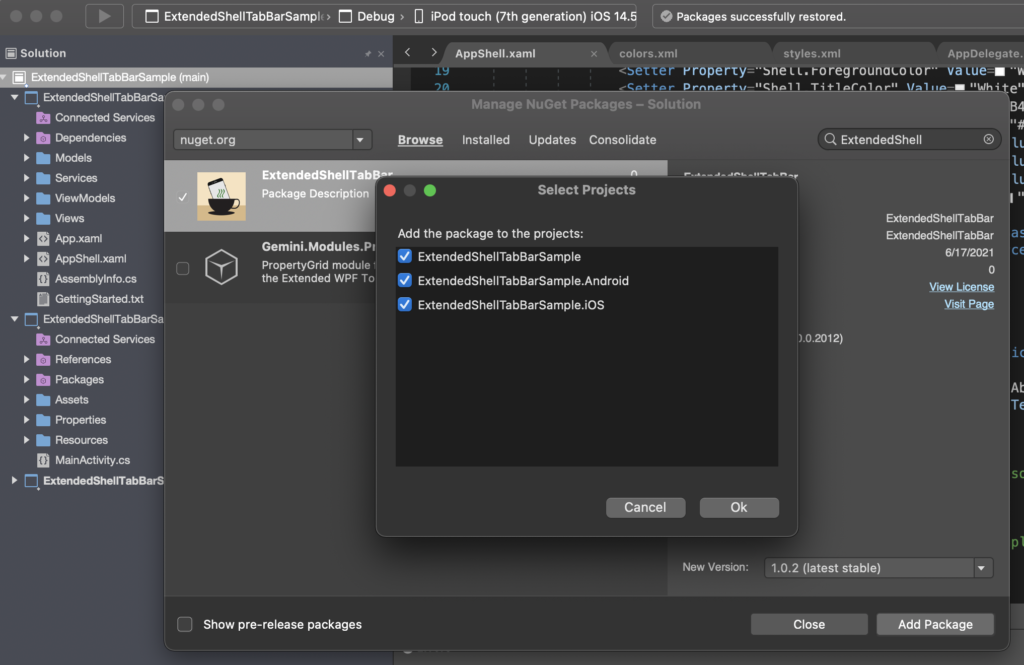
Add the Nuget Package
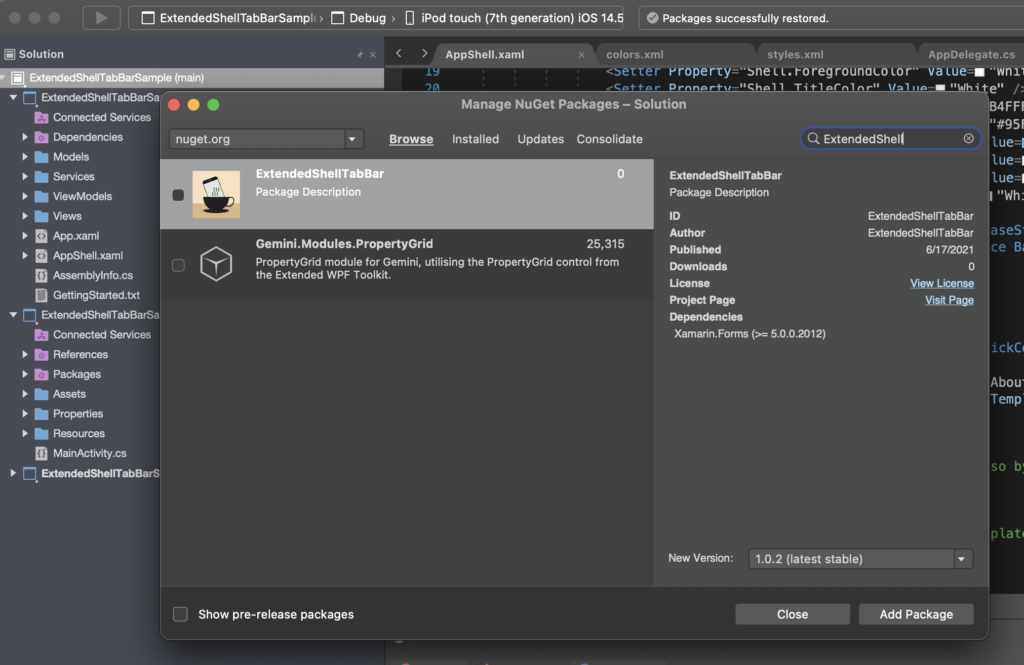
Click right on the solution and select “Manage Nuget Packages”. In the search box enter “ExtendedShellTabBar” and add it to the whole project in the solution.
The Centered Icon
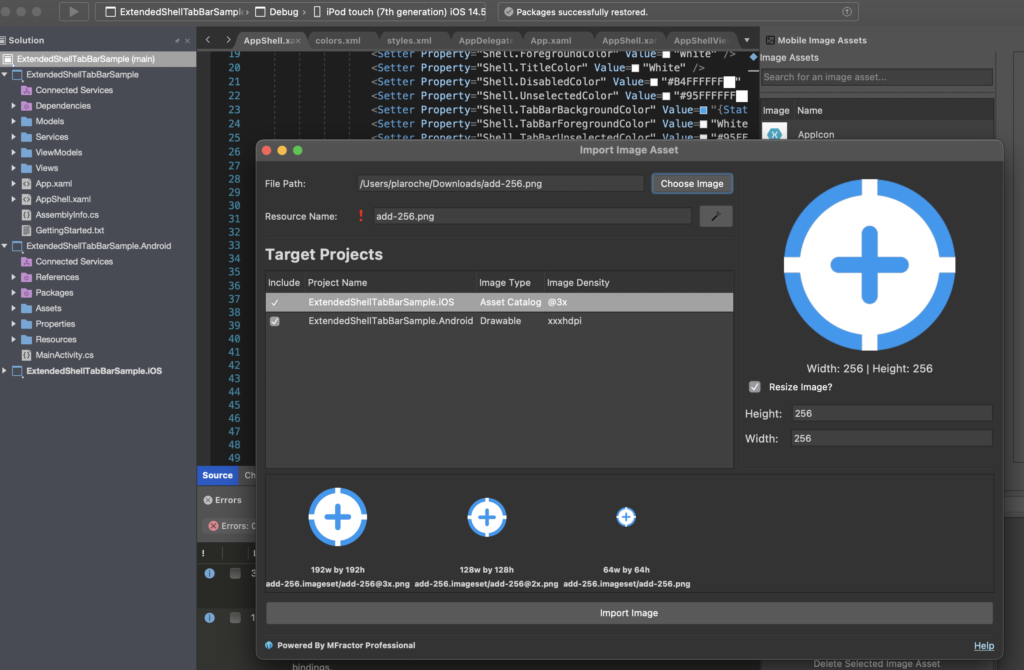
If like me you have a licence of “MFractor”, add an icon in your project like below. If not, add your icon manually in drawables ressources for Android and XCAssets for iOS.
The XAML Shell
Update your “AppShell.xaml” file like below :
<?xml version="1.0" encoding="UTF-8"?>
<Shell xmlns="http://xamarin.com/schemas/2014/forms"
       xmlns:x="http://schemas.microsoft.com/winfx/2009/xaml"
       xmlns:local="clr-namespace:ExtendedShellTabBarSample.Views"
       xmlns:tabbar="clr-namespace:ExtendedShellTabBar.VisualElements;assembly=ExtendedShellTabBar"
       Title="ExtendedShellTabBarSample"
       x:Class="ExtendedShellTabBarSample.AppShell">

    <!--
        The overall app visual hierarchy is defined here, along with navigation.

        https://docs.microsoft.com/xamarin/xamarin-forms/app-fundamentals/shell/
    -->

    <Shell.Resources>
        <ResourceDictionary>
            <Style x:Key="BaseStyle" TargetType="Element">
                <Setter Property="Shell.BackgroundColor" Value="{StaticResource Primary}" />
                <Setter Property="Shell.ForegroundColor" Value="White" />
                <Setter Property="Shell.TitleColor" Value="White" />
                <Setter Property="Shell.DisabledColor" Value="#B4FFFFFF" />
                <Setter Property="Shell.UnselectedColor" Value="#95FFFFFF" />
                <Setter Property="Shell.TabBarBackgroundColor" Value="{StaticResource Primary}" />
                <Setter Property="Shell.TabBarForegroundColor" Value="White"/>
                <Setter Property="Shell.TabBarUnselectedColor" Value="#95FFFFFF"/>
                <Setter Property="Shell.TabBarTitleColor" Value="White"/>
            </Style>
            <Style TargetType="TabBar" BasedOn="{StaticResource BaseStyle}" />
            <Style TargetType="FlyoutItem" BasedOn="{StaticResource BaseStyle}" />
        </ResourceDictionary>
    </Shell.Resources>

    <tabbar:ExtendedShellTabBar>
        <tabbar:ExtendedShellTabBar.CenteredTab>
            <tabbar:ExtendedShellCenteredTab
                Command="{Binding ClickCommand}"
                BorderColor="White"
                BorderThickness="2"
                CornerRadius="30"
                Icon="centeredadd.png"
                Width="60"
                Height="60" />
        </tabbar:ExtendedShellTabBar.CenteredTab>
        <ShellContent Title="About" Icon="icon_about.png" Route="AboutPage" ContentTemplate="{DataTemplate local:AboutPage}" />
        <ShellContent Title="Browse" Icon="icon_feed.png" ContentTemplate="{DataTemplate local:ItemsPage}" />
    </tabbar:ExtendedShellTabBar>

    <!--
        If you would like to navigate to this content you can do so by calling
        await Shell.Current.GoToAsync("//LoginPage");
    -->
    <!--<TabBar>
        <ShellContent Route="LoginPage" ContentTemplate="{DataTemplate local:LoginPage}" />
    </TabBar>-->


</Shell>
The View Model
Add a AppShellViewModel.cs file to handle the “ClickCommand” :
public class AppShellViewModel
{
public ICommand ClickCommand { get; set; }
public AppShellViewModel()
{
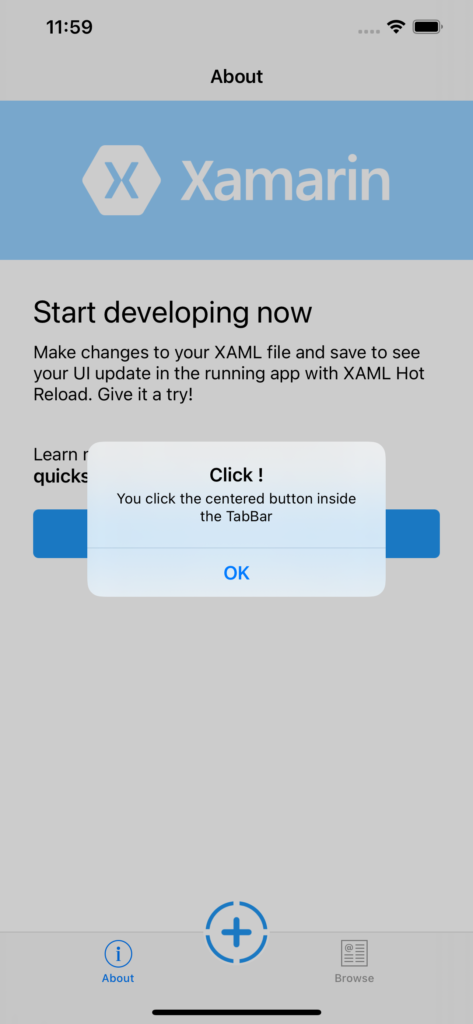
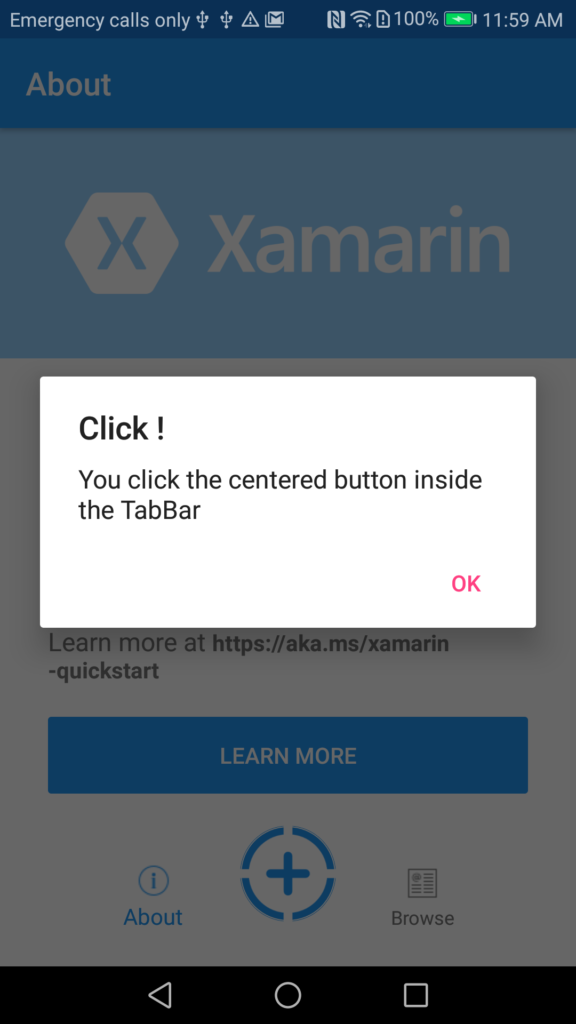
ClickCommand = new Command(async () =>
{
await Application.Current.MainPage.DisplayAlert("Click !", "You click the centered button inside the TabBar", "OK");
});
}
}And don’t forget to declare the ViewModel in the code behind , the file “AppShell.xaml.cs” :
public partial class AppShell : Xamarin.Forms.Shell
{
public AppShell()
{
InitializeComponent();
this.BindingContext = new AppShellViewModel();
Routing.RegisterRoute(nameof(ItemDetailPage), typeof(ItemDetailPage));
Routing.RegisterRoute(nameof(NewItemPage), typeof(NewItemPage));
}
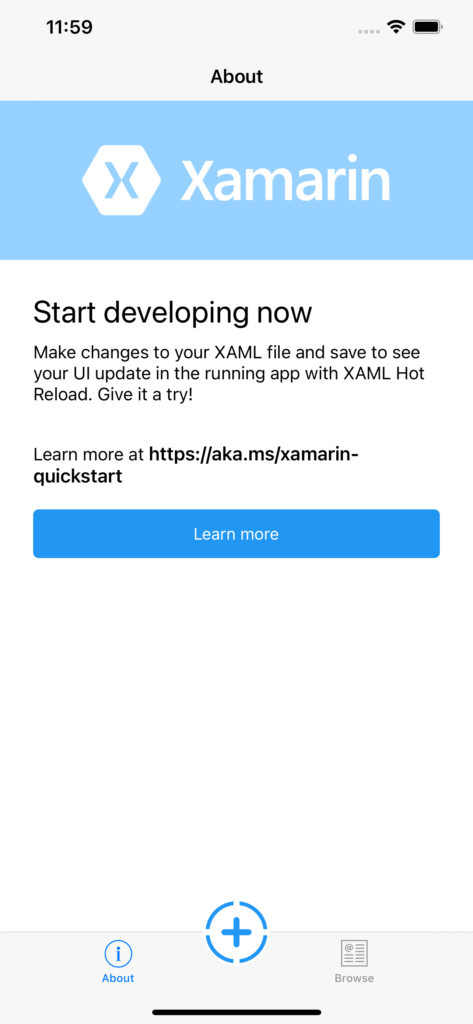
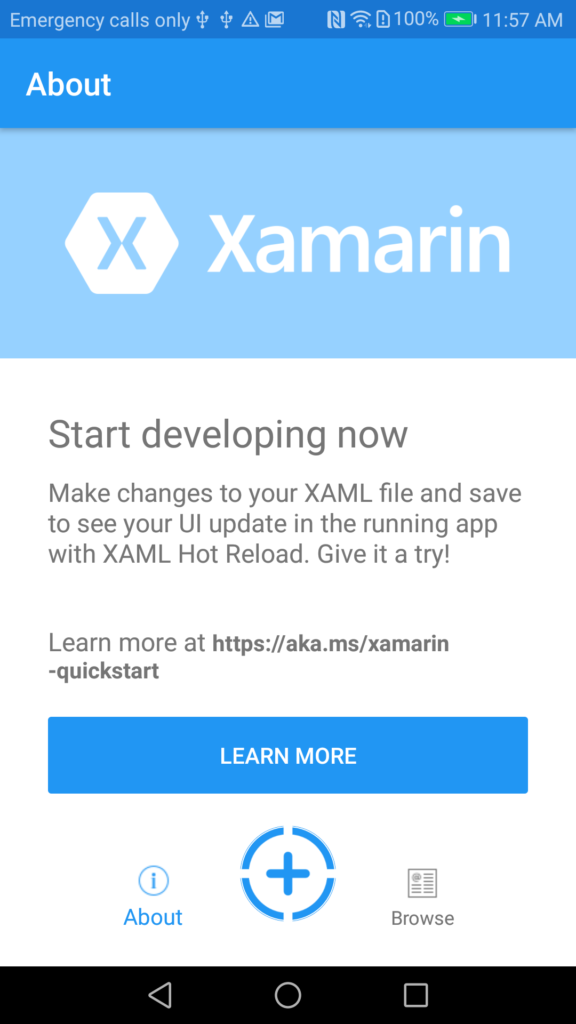
}The Final Result
Conclusion
I have the entire code we built from this article available on GitHub. Please follow the link : https://github.com/xamarin-plaroche/ExtendedShellTabBar.
All sources code are available on it :
- Nuget Package source code
- Sample App
Enjoy ! 😊